Written by Cameron Driller | June 10, 2020
Foreword
Articles across the science and internet communities claim entire lists of fermentation benefits from probiotics to its ease of creation. However, I am naturally skeptical of foods that smell weird, so I decided to try for myself. Granted, I could have just purchased the food and tried it that way, but one claim is how easy it is to make fermented foods. I couldn’t claim to be a DIY biologist if I didn’t have a fermentation project under my belt, now could I?
This series will start by looking at the background for fermentation and what you need to know before you plan out the recipe. Granted, plenty of recipes exist that don’t involve sauerkraut or even cabbage, but sauerkraut is an easy beginning into fermentation and will hopefully give you a foundation to work off for any other recipes.
I decided to start with Sauerkraut for a couple of reasons. One, it’s cheap and simple. The ingredients are salt, cabbage, water, and any extra seasonings I want to add. Two, it’s low maintenance. Most recipes just have you place the prepared ingredients in a jar and let it sit for two weeks. I’ll be checking in once every other day until it’s finished. Afterward, I’ll simply place it in a clean jar and eat as I wish.
What is fermentation?
Fermenting is a biological reaction where organisms, usually bacteria, digest and use fuel to sustain themselves. For example, yogurt is made when a certain species of bacteria consume the lactose (sugar) in milk for its fuel and turns it into lactic acid as waste. This same concept is how every fermented food/drink works. The reason the fermented food doesn’t make you sick is that the organisms are not harmful to humans and the by-products they make aren’t toxic. Keep in mind though, fermented foods can rot like any other food if harmful bacteria can grow. That’s why most recipes for fermented foods emphasize that you wash your containers, dishcloths, and hands often.
Setup
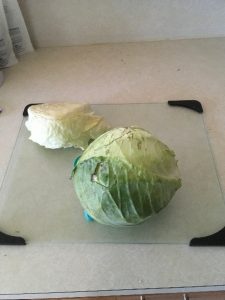
As I mentioned before, the ingredients I used are simple. I chopped up two medium-sized heads of cabbage and separated the core from the leaves. I placed the chopped cabbage leaves into a bowl and sprinkled ~2.5 tablespoons of salt over the cabbage. I mixed the two with my hands and covered the bowl with a cheesecloth before leaving out overnight. Now, I like crunchier sauerkraut than most people, so you’ll probably want to massage the salt into the chopped cabbage to make sure as much water gets out as possible.
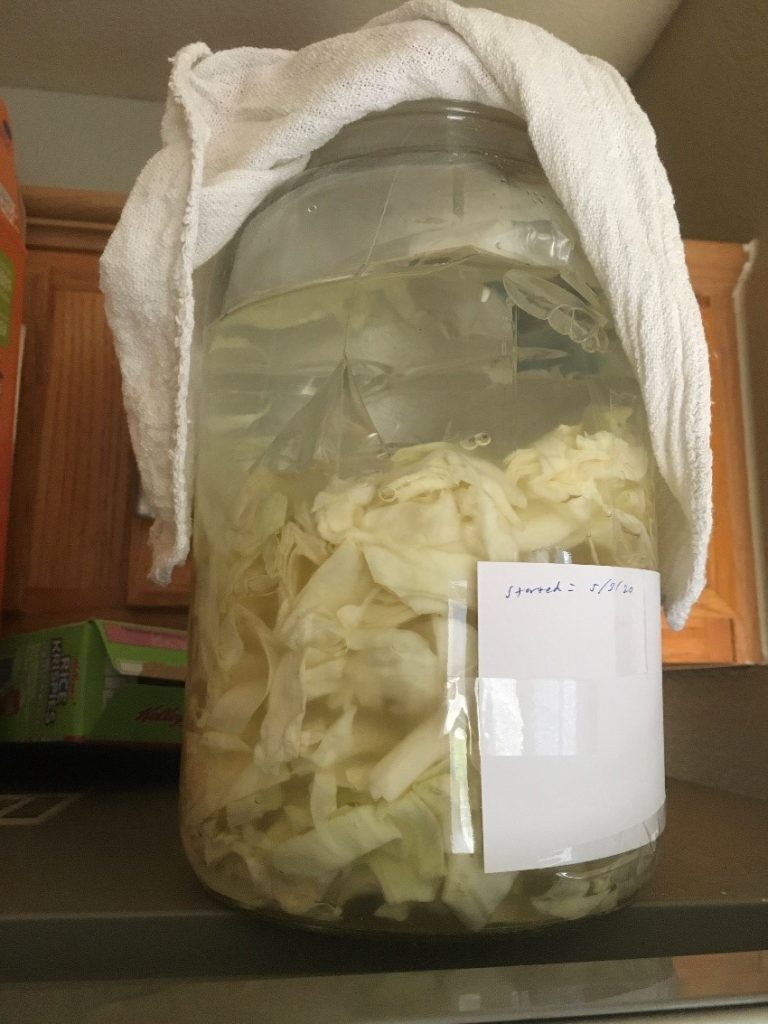
The next day, I placed the entire bowl of cabbage into a gallon-sized jar and added enough water to cover the cabbage. To make sure the cabbage stayed below the waterline, I filled a gallon-sized Ziploc bag with water and air and placed it on top of the cabbage. I then covered the jar with cheesecloth, put the lid on gently, and labeled when the batch would be done fermenting with a taped-on notecard.
Done. I put the jar on top of my fridge and left it alone ever since. Now and again I’ll check the jar to make sure it’s working and nothing unsavory is growing, but that won’t be much effort. At a cursory glance, I’ll know if it’s working because the water will be cloudy, and bubbles will form around the cabbage.


Leave a Reply