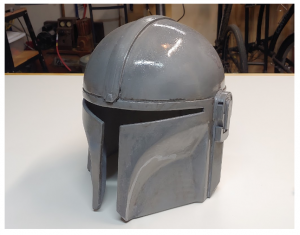
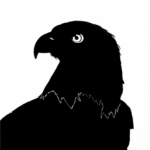
For this tutorial we will be making a 3D representation of this image:
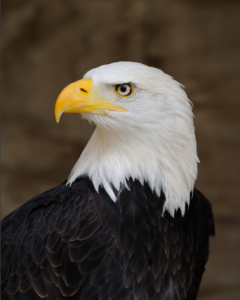 Credit: Saffron Blaze, Wikimedia Commons
Being able to take a picture of an item and turn it into a 3D model can be a very useful skill. This is a multi-step process that begins with the picture, then utilizes photo editing programs, vector manipulation, and finally Tinkercad. First you need to take your picture and open it some kind of photo manipulation program… I prefer to use Photoshop because it has good selection tools. In the program you should work to cut out the background from the image (see P1). In this case, I simply used the magic wand selection tool in Photoshop and deleted the background.
P1: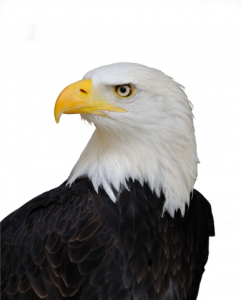
Next, you will want to selectively remove an outline of any details you want to keep in your image… in this case, we’ll keep the eye, nostril and outline of the neck. (see P2). Then select all of the white areas of the image and use the inverse selection option to select the opposite area of the image instead. Now with this area selected, color the whole selection one color (see P3). After this… just clean up any of the rough edges and save the file as a .BMP file.

The next step is to change our .BPM image into a vector image, specifically a .SVG image. To do this I use the free program Inkscape, but you could also use Adobe Illustrator. Once you open the file in Inkscape, it will bring up a pop up window with some options to pick from. You should choose “Default import resolution” for DPI and “Smooth” for Image Rendering Mode. Click on your Image and go to Path à Trace Bitmap (see P4) and click it. A window will open up. Click the Update button and then Okay and you can close the window. Now delete the .BMP image (identifiable by the way it gets blurrier as you zoom in on it.) and save the file as an .SVG.
P4: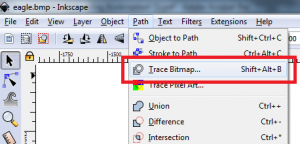
For this next step, we will use yet another free program… this time called Tinkercad. First you need to make an account, or sign in via Facebook, and then open up a new project. Now go and click the import button and upload the .SVG file to the program (see P5). Sometimes the file will be too large to import… if this is the case the just use the scale feature to reduce the scale until it will fit into Tinkercad’s plane.
P5: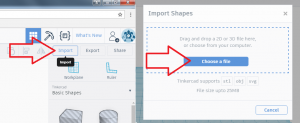
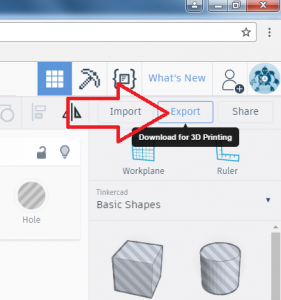
Next you can scale the object to the size you want with white and black squares located in near proximity to the model (see P6). Holding shift while moving the white squares will uniformly scale the model to as to avoid warping the features. Once you have to model the size you want, you can export it (see P7) as an .STL (for 3D printing) or .OBJ (for more general purpose modeling) and save it to your computer. And you’re done!
P6: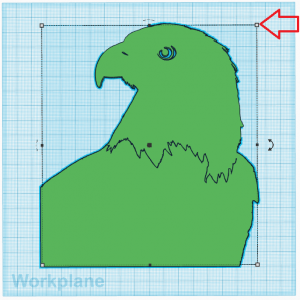
P7: