Written by: D. Da Costa Spark Specialist UNT Senior Mechanical and Energy Engineering
Hello there! My name is Danielle Da Costa and I am a senior at the UNT majoring in Mechanical and Energy Engineering and minoring in Electrical Engineering. Although I have just started working at the Spark, I truly feel welcomed by all the staff and it has been a joy being here. Working with all the equipment at the Spark, especially the textiles, is something I am passionate about.
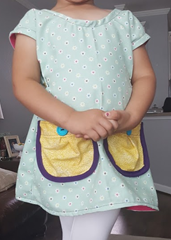
When I was young, my abuelita (grandma) had a side job as a seamstress, and growing up I would love seeing and wearing her creations. Although she did not teach me how to sew, I picked it up quickly at the age of 13, and through much trial-and-error, I was able to develop the skills I have today. When I have free time, I dedicate it to creating things like this Easter dress I made for my niece and a hammock I made for guinea pigs.

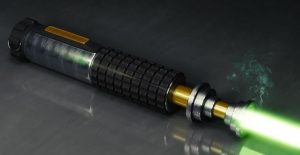
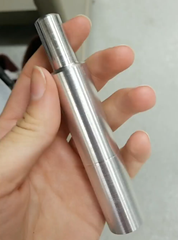
Outside of school, I create my own designs with my 3D printer, sewing machines, and silhouette cameo, with the ultimate goal of having my own fabrication lab after college with a larger variety of machines. I also enjoy metalworking with welders, lathes, and mills. And luckily, in my manufacturing processes lab, I was able to properly fabricate parts given their dimensions.
I am passionate about making, and I hope to inspire others to join the maker movement and challenge themselves to learn something new. The Spark is a great resource for students at UNT who are interested in making or wanting to develop a new skill, so I highly encourage students and faculty to utilize this space.
 Hello! My name is Mikey Heins and I am a junior Fine Arts major concentrating in Photography here at UNT. My passions are art and technology, and I love combining the two whenever possible. I have always been interested in tinkering, making, and learning, with fond memories of staying up late as a kid watching the legendary Make Magazine instructional videos on YouTube. I spent many hours in my youth working on projects on my bedroom floor (as indicated by the many stains, dried glue, and burns on that poor carpet), ranging from circuitry, woodworking, and crude robots. I got my first Raspberry Pi (a teeny credit-card sized computer) around 6th grade, opening the doors to the magic of programming! I joined a First Robotics Competition team during my freshman year of high school, which is where I believe I grew and learned the most. For all four years, I worked endlessly with my team to create from scratch, our very own robots to compete in difficult challenges.
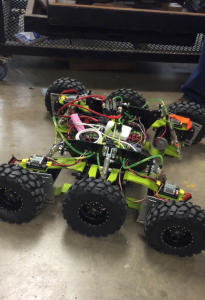
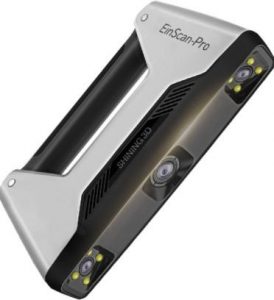 The EinScan Pro is a portable 3D scanner that can serve a variety of purposes. It is compact and can be used handheld or mounted with the industrial pack that includes a turntable and a tripod mount.
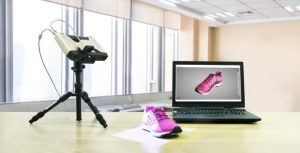 It also supports a full-color scan by attaching the Color Pack that allows you to scan an object with the colors and materials included in the digital scan. The EinScan Pro can be used for creativity, reverse engineering, manufacturing, healthcare, and the list goes on.
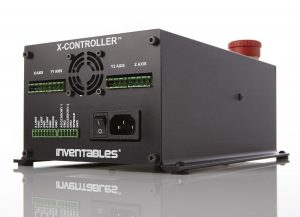
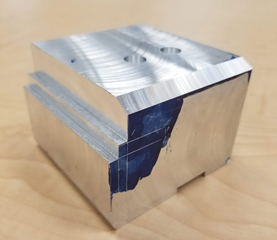
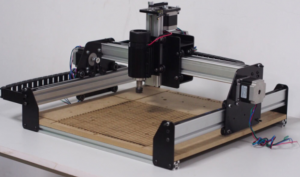 Lastly, I used a 48V independent spindle. This makes it easier to control the spindle. Spindle specs are so much better than the standard X-carve spindle. The standard running RPM is 12,000. The upgrade is complete as of now, and X-carve had its first project lined up while it was in the works. UNT Libraries requested 50 Power outlet faces milled. X-carve successfully completed the whole project just after the day that it was built.